Healthy Work Lunches You Can Pack in 10 Minutes
A simple base + protein + vegetable method for packing work lunches fast, plus how to keep them cold, when to reheat, and what to do if you have no fridge.
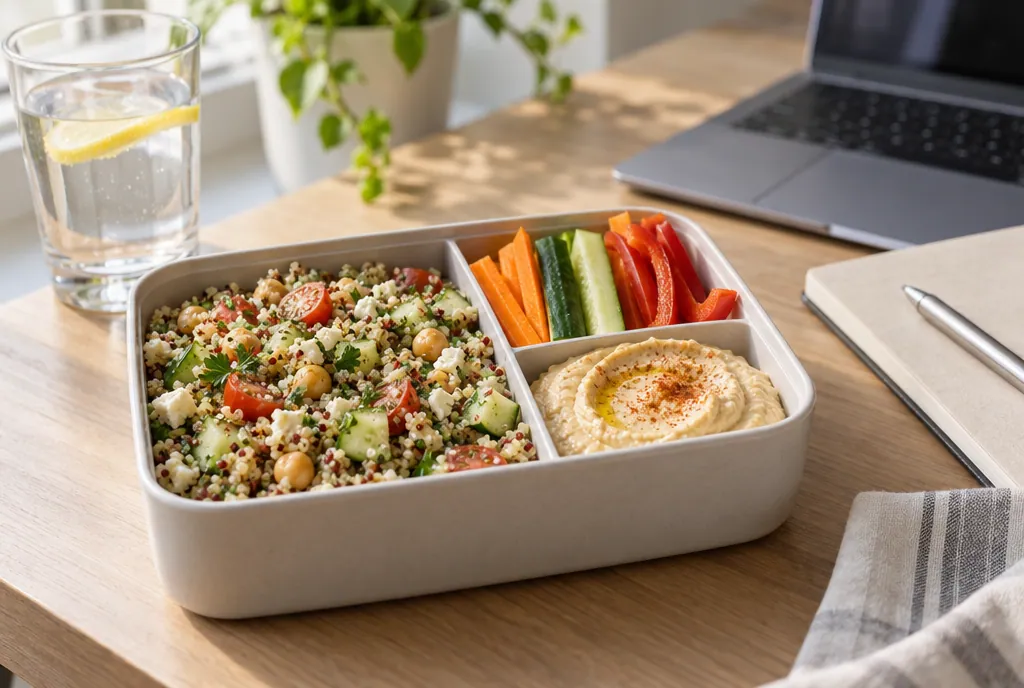
Key takeaways
- Build lunch from four parts: a base, a protein, vegetables, and an extra for flavor or crunch. Cooking the parts ahead is what makes packing take 10 minutes.
- Pack perishable food with at least two cold sources; FSIS suggests two frozen gel packs, or a gel pack plus a frozen juice box or frozen bottle of water.
- Perishable food should not sit at room temperature more than 2 hours, or 1 hour if it is above 90 degrees F (FSIS).
- If there is a refrigerator at work, put perishable items in it when you arrive. If you reheat, FSIS says to bring leftovers to at least 165 degrees F.
A good work lunch is mostly assembly. If you keep a few cooked parts in the fridge, you can pack a balanced lunch in about 10 minutes, and the only real decision is how to keep it cold until you eat it.
The 10-minute method: base + protein + vegetables + extras
Pick one item from each group and put them in a container. That’s the whole system. Because the parts are cooked ahead, nothing needs more than a minute of chopping or scooping.
- Base: cooked brown rice, quinoa, whole-wheat pasta, a whole-grain wrap, or sturdy greens such as kale or spinach.
- Protein: shredded chicken, hard-boiled eggs, canned tuna or salmon, chickpeas, black beans, lentils, baked tofu, or cheese.
- Vegetables: cherry tomatoes, cucumber, shredded carrots, roasted broccoli, peppers, or frozen vegetables you steam at work.
- Extras: a small container of dressing or hummus, a handful of nuts or seeds, olives, fruit, or a squeeze of lemon.
Pack dressing and crunchy toppings separately so the base doesn’t get soggy. A small lidded cup works well.
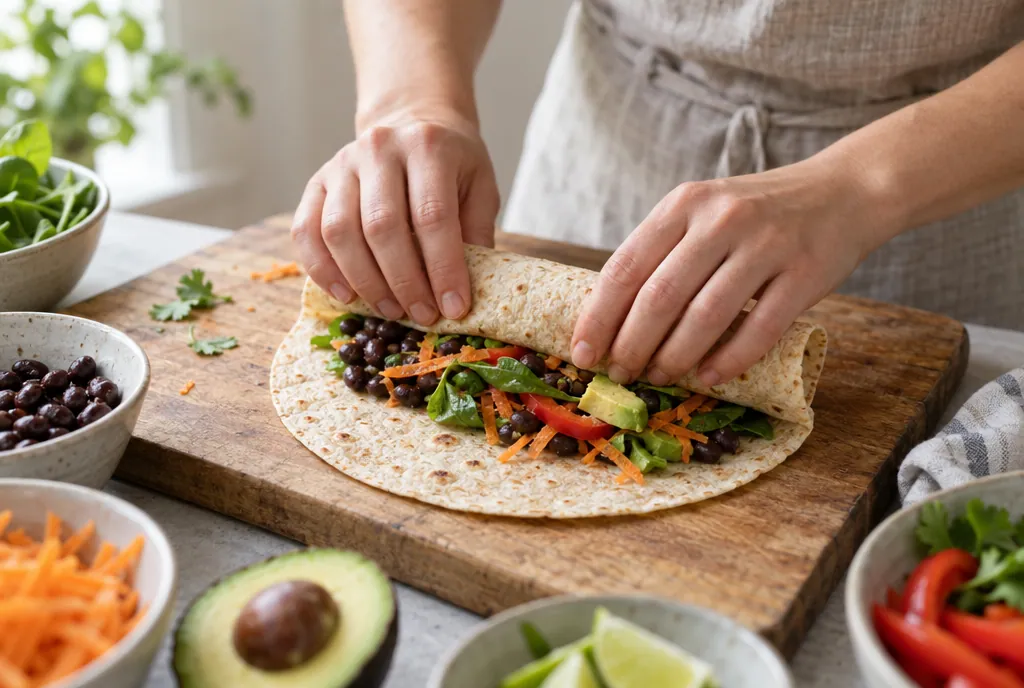
Make-ahead components worth keeping on hand
Spend 30 to 45 minutes once a week, or cook double at dinner. These keep well and mix in many ways:
- A pot of grains. Cooked rice or quinoa becomes a bowl, a salad, or a wrap filling.
- One protein. Bake a tray of chicken thighs, boil a half dozen eggs, or simmer a pot of lentils.
- A tray of roasted vegetables. They taste good cold or reheated.
- A jar of dressing. Oil, vinegar or lemon juice, mustard, and a little salt is enough.
- Cut raw vegetables. Store them in a container so they’re ready to grab.
When you cool a big batch, divide it into shallow containers. FSIS says dividing large amounts of food into shallow containers helps it chill fast. Our meal prep basics guide covers a full prep session, and the weekly meal plan guide shows where lunches fit in your week.
Five combos to rotate
| Lunch | Base | Protein | Vegetables | Extra |
|---|---|---|---|---|
| Chicken grain bowl | Brown rice | Shredded chicken | Roasted broccoli, shredded carrots | Lemon-mustard dressing |
| Tuna salad wrap | Whole-grain wrap | Canned tuna mixed with plain yogurt | Cucumber, lettuce | Apple slices |
| Chickpea Greek salad | Chopped romaine | Chickpeas, feta | Tomatoes, cucumber, olives | Olive oil and lemon |
| Egg and veggie box | Whole-grain crackers | Hard-boiled eggs | Peppers, snap peas | Hummus |
| Bean and corn bowl | Quinoa | Black beans | Corn, tomatoes, peppers | Salsa, avocado |
Swap in whatever you already have. If a combo needs refrigeration, plan for the cold sources in the next section.
Keep lunch cold until you eat it
Cold food is where most lunch-bag mistakes happen. FSIS says harmful bacteria multiply rapidly in the “Danger Zone,” the temperatures between 40 and 140 degrees F, so perishable food carried without an ice source won’t stay safe long.
Pack it right
- Use an insulated bag. FSIS says insulated, soft-sided lunch boxes or bags are best for keeping food cold, and you should pack at least two ice sources with perishable food.
- Chill the food first. Prepare cooked food ahead so it chills thoroughly in a refrigerator at 40 degrees F or below, and keep it refrigerated until you leave.
- Put cold sources on the top and the bottom. FSIS says to use two frozen gel packs, each not smaller than 5x3 inches, or a gel pack plus a frozen juice box or frozen bottle of water, placed on top and bottom of the perishable items.
- Freeze the gel packs overnight.
What to do when you get to work
Your options depend on what your workplace has. Pick the tab that matches yours.
Fridge at work
This is the easiest setup. FSIS says that if a refrigerator is available at work or school, you should store perishable items there upon arrival. It adds that if you put your insulated bag in the refrigerator, you should leave the lid or bag open so that cold air can keep the food cold.
Label your container with your name and put it where you won’t forget it.
No fridge
Rely on your two cold sources and choose foods accordingly. Foods FSIS lists as not requiring refrigeration include whole fruits and vegetables, hard cheese, canned meat and fish, chips, breads, crackers, peanut butter, jelly, mustard, and pickles.
That makes a peanut butter sandwich with an apple and carrot sticks, or crackers, hard cheese and a can of tuna, an easy no-fridge lunch. Keep the bag out of direct sun and away from a hot car.
Microwave available
Cover the food to hold in moisture. FSIS says to reheat leftovers to at least 165 degrees F and use a food thermometer to check. It also says to cook frozen convenience meals according to package instructions.
Because microwaves have cold spots, check the temperature of the food in several places, and let it rest before you take the final reading. Sauces, soups and gravies should be brought to a rolling boil.
Sandwiches and the freezer trick
Freezing sandwiches helps them stay cold, according to FSIS. For best quality, FSIS says not to freeze sandwiches containing mayonnaise, lettuce or tomatoes; add those later. Still pack your two cold sources with any perishable filling.
If you like to batch-make lunches for the whole week, the freezer-friendly meals guide covers what freezes well and how to store it. FSIS says food stored constantly at 0 degrees F will always be safe, and only the quality suffers with lengthy freezer storage, so freezing portions ahead is a sound way to stay stocked. More ideas live in the Meal Planning & Prep hub.
Lunch-packing checklist
Run through this the evening before and the morning you leave:
- Wash your hands with soap and warm water for 20 seconds, and wash cutting boards and counters with hot, soapy water between foods.
- Pull out your cooked base, protein and vegetables, then assemble them in containers.
- Pack dressing, sauces and crunchy toppings separately.
- Put the packed containers in the refrigerator.
- Put gel packs, or a juice box or water bottle, in the freezer.
- In the morning, pack the insulated bag with two cold sources on top and bottom.
- Pack only as much perishable food as you will eat at lunch.
- Decide where lunch will go at work: fridge, cold bag, or microwave.
Frequently asked questions
Can I pack lunch the night before?
Yes. FSIS says it is fine to prepare the food the night before, but to pack the lunch bag right before leaving home. Keep the prepared food in the refrigerator overnight, with gel packs in the freezer.
What can go in a lunch bag without a cold pack?
FSIS lists foods that don't require refrigeration, including whole fruits and vegetables, hard cheese, canned meat and fish, chips, breads, crackers, peanut butter, jelly, mustard, and pickles. Anything perishable still needs cold sources.
Should I eat the leftovers from my lunch the next day?
No. FSIS advises packing only the amount of perishable food that can be eaten at lunchtime, and discarding leftover food, used packaging and paper bags after lunch rather than reusing them.
How do I keep soup or chili hot?
Use an insulated container. FSIS says to fill it with boiling water, let it stand a few minutes, empty it, then add piping hot food and keep it closed until lunchtime so it stays at 140 degrees F or above.